| Applying the Mineral Ground -- Tips |
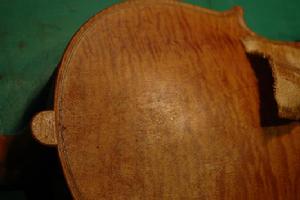
Notice the difference between the freshly applied ground (left), which
has a wet, granular look, and the rubbed out ground (right), which has a shiny,
burnished look.
|
|
|
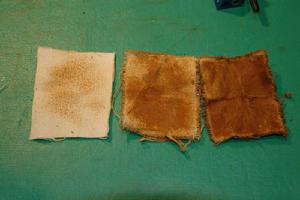
From right to left, the succession of canvas used to rub on ground. The last used (leftmost) cloth has almost no ground. This indicates that all "free" ground has been removed from the instrument.
|
|
|
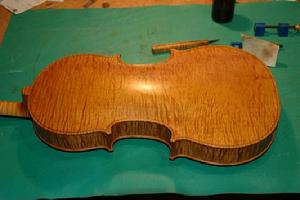
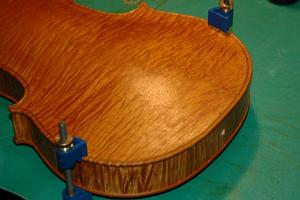
To help
eliminate muscle stress, place a lint-free pad under your work area and use
two bout clamps to stabilize the instrument.
This way you can lay the instrument flat on its belly while working on the back and ribs. Be sure to go back over any areas that may have gotten smudged from the clamps or pad before finalizing the varnish coat.
|
Mr. Scott did extensive varnishing demonstrations during the 2008 Oberlin Violin Making Workshop. He picked up a few tips himself. We hope to incorporate them into our photograph instructions, but for now here they are:
- Mull the mineral ground in small batches (quarter-sized) instead of all at once to achieve a more even incorporation of mineral into varnish.
- Use a pallet knife or soft plastic scraper to apply the mineral ground directly to the instrument. Then use the scraper like a squeegee to spread to an even coat. It should be just thick enough to have something to rub into the wood.
- Use a white 3M pad (medium grit) to rub the ground into the wood. This is more efficient than a canvas cloth, rubbing the ground into the wood while simultaneously taking away any excess. When you are done, it should be slightly gritty, with just enough pumice left to do a final burnishing with canvas.
- Finally, use a canvas cloth to rub the last of the ground off, as described in the previous directions. Wear tight-fitting latex or nitrile gloves to provide more grip on the canvas.
|
|